Our society is changing: our eternal relations are no longer close to us or perhaps the urban lifestyle or the work demands interferes with our ability to establish close interactions and connections. It appears as our dogs have started filling the emotional voids that the modern lifestyle has left in our lives and personal relationships. Our pet dogs seem to be our family members now, and there are many instances when we treat our dogs more socially than anyone else. One such instance is where we want to treat them as part of our house. And the first step is building a pretty DIY dog house because they also deserve a special place to call their own.
You can provide your furry friend relaxation and one of the methods is providing him a comfortable dog bed. A dog house can provide your dog with its relaxing gateway. Considering creating their own house as their territory won’t be a bad idea. We are here to guide you on how to build a DIY dog house and the benefits of dog-friendly space.
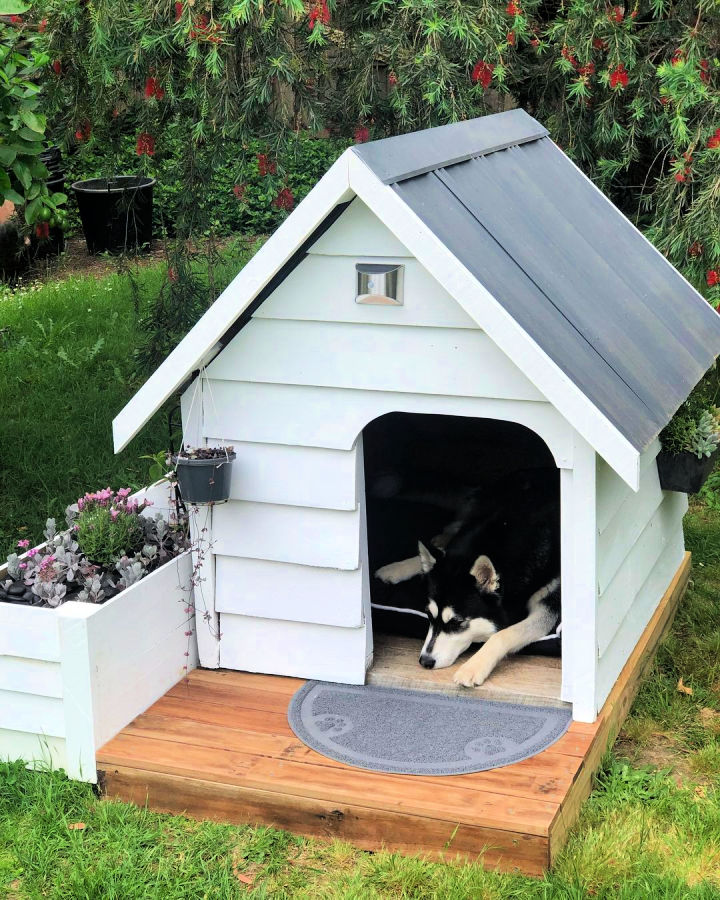
How to build a dog house?
A dog house comes in many sizes, shapes, and designs. Some dogs enjoy a large free space while the other might like little space to venture into. Luckily you can personalize your pet’s house to include any style according to their taste. There are numerous things one should consider before building a dog house i.e., location, size, indoor, or outdoor atmosphere according to your puppy’s desire. Luckily, there are many dog house designs to choose from, for an additional resource check out the dog house plans guide by DIY Craftsy. DIYCraftsy shared a unique list of free dog house plans with step by step instructions.
Points to consider
- Measure the space to build a doghouse and determine the ideal spot
- Choose if your dog like indoor or outdoor doghouse so you can choose the design you like
- Options like adding a patio’s, an awning, a door, and windows are just a few of the features that can be considered
- Assemble your supplies and research different patio designs
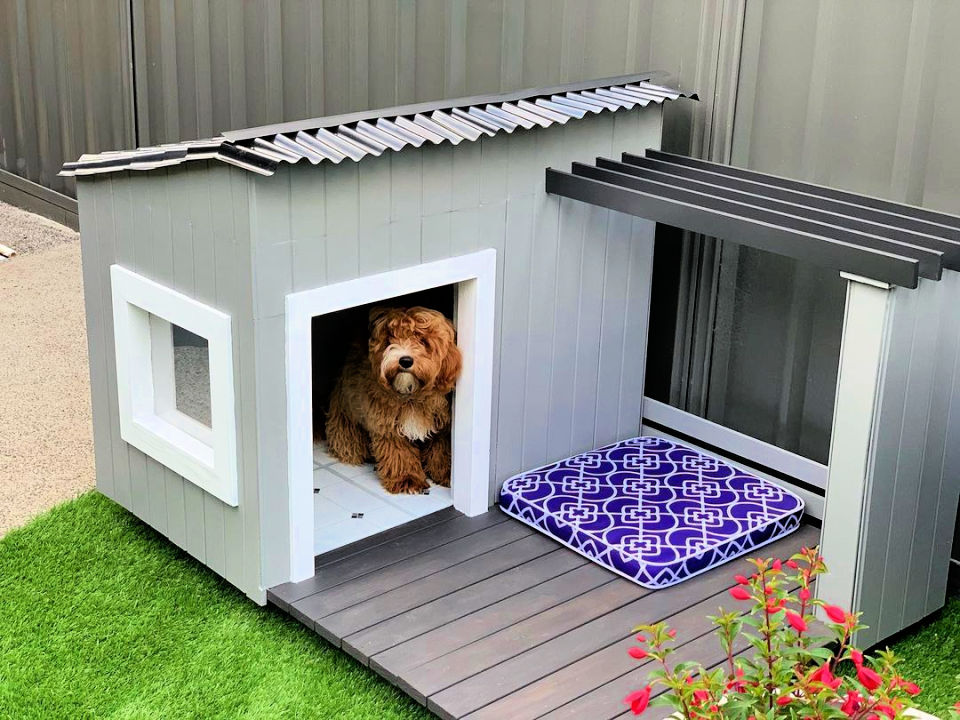
Building a dog house
Things you need to make your own dog house cheaply at home:
Tools
- Circular saw
- Jigsaw
- Drill and drill bits
- Impact driver and driver bits
- Brad nailer
Materials
- Pressure-treated lumber boards
- Pressure-treated plywood
- Sheathing
- Lumber boards
How to build a dog house? Here are the steps to follow
The following facts must be kept in mind while planning a DIY dog house.
Plan for a dog house
The dog house always has a floor that must be high enough from the ground level to prevent the entering of water on rainy days. Raising it will also isolate it from the cold ground in the winter and from the hot surface in burning summer to keep pets safe. The size we are going to illustrate here is just average and you can change it by a slight variation in the measurements. It should be large enough to allow the free movement of the dog at the same time it must be small enough so that the dog can heat it with his natural-body heat. Choose the option of average.
1) Cut the wood pieces based on your design
Cut the 2-by-4 pieces of wood-based on design i.e., either you want a square or rectangular boundary.
2) Frame the base
Screw these pieces together to get the basic frame.
3) Sheath the base
Cut the 3/4 –inch pressure-treated plywood to size and screw it to the frame to create the foundation floor.
4) Create side wall frames
Cut the 2-by-2 pieces of wood according to the measured dimensions and attach them to the initial build frame to create left and right walls.
5) Frame the front and back walls
Cut the 2-by 2 size of the wood and attach them to the 2-inch deck screws, keep your dog’s size in mind while building the front door. Ideally, the dog house opening should be 2 to 4 inches wider than your dog’s size. Similarly, calculate the width of the shoulder to adjust the height of the door.
6) Attach the framing walls
Fasten the walls together but be careful while attaching the walls: each wall should extend out of the frame to avoid the lack of support by the walls.
7) Building the roof frame
Cut the wood slides each 2-by-2 inch and mount the roof framing to the already build frame.
8) Install the slides
Use the ½ plywood material or any other material that you would like to use. Fasten all the slides with the frame by screwing them tightly. Similarly, attach the top roof slide with a size of 1-2. It should be slightly larger than the frame itself so that 2-3 inches stick out of the frame boundary.
9) Attach the trimming
Trim function is to normalize all the spacing, it automatically stripes the space at the start and end of a given string and level just one space inside a string. By trimming your build structure, you would be able to recover all the empty spaces. According to the size, you have to use 1-by3 inches trim boards.
10) Create the side door opening
Cut out a 24-inch-by-33-inch rectangular slide as a door. Remove the bottom frame pieces and any extra material from the edges to allow the free door to slide freely. Drill a small hole or attach a small piece of wood as a door handle, to make it easy to open the door.
11) Attach the door
Now attach the door slide to the door opening. For linking the door to the dog house use screws with a piano hinge. Bolt the nuts inside the hinge to allow the door to move back and forth. For additional protection, consider adding a weatherproof sheet to keep it safe from the rain or hot weather.
12) Attach the roof grossing
Attach the gross lining to the roof for better weatherproofing. You can consider using rubber roofing, apply it to the plywood by using constructive adhesive. Use the silicone sealant to fill any gaps along the edges to prevent the entry of water which will cause leakage and dampness. Attach the artificial grass to the roof by using exterior construction adhesive. Attaching the roof gross will have the following benefits
- Improve stormwater management and reduce urban heat by improving resistant quality.
- It will insulate the house while improving the efficiency of mechanical equipment’s
- Reduce the greenhouse gas emission
- It will extend the roof life
13) Build the ramp base: optional
Cut the ¾ inch left ramp out of the plywood and ½ inch for the side attached to the house. Attach both these sides with screws and adhesive to ensure extra strength. You can add framing for additional support. Cover this ramp with artificial grass to give it a realistic look.
14) Add some colors
For some fun, you can paint the house to add some colors to your fury’s life. You can either select matte or gloss paint. It does not matter if you use any kind of paint, but it should be weather resistant and waterproof, as the house will be continuously exposed to outdoor severe conditions. You can further customize it by adding various graphics or designs to it.
Additional Things You must consider for a DIY Dog house are:
Now you have assembled your pet’s house, don’t forget to add some items to ensure comfort.
- Keep it hydrated
Don’t forget to ensure the water availability for your furry friend. Consider adding a fountain or splash pad so that your dog stays hydrated.
- Add an awning
Consider adding an awning to your pet’s house that will act as a stylish barrier to protect the house from the burning rays of sun, heat, and cold. It will absorb the heat in winter and will keep the heat away thus making the house ideal for any season.
- Create a dog park
Creating a small dog park outside his house won’t be a bad idea if you have enough space. You can do dog agility, scavenger hunt, or the dog run to make a fun place for your pet. This will allow your pets to have some playtime together.
- Supervise the playtime
Be mind’s full of the pet’s activity, make sure to monitor the condition of the house at regular intervals. Keep an eye on the condition, it is broken or damaged from somewhere, or keep on locating any kind of leakage, as these factors make your pet susceptible to fell ill.
Benefits of a DIY dog house: your dog’s person place
House is a place where you can recharge yourself. The same goes for your buddy. A dedicated space for your dog will let him relax, sleep, play, and eat. Just like humans, dogs also feel tired and any change in their schedule or routine can cause them to stress out. Confined space for them will help them to rest at their convenience, which will be beneficial for your pet’s health.
A DIY dog house will be a source of pet enrichment which in return is beneficial for the mental, physical and emotional stimulation of your pet. You can add some toys to your pet’s house to make them feel more personal. Meanwhile, learning how to build a dog house will be an addition to your skills, and will help you to build a strong bond with your best friend.
How to insulate the dog house?
You can insulate your pet’s house by using a different kind of protective material depending upon the conditions. You can use the fiberglass or the reflective foil to reflect the burning rays of the sun thus keeping it at moderate temperature. Bubble wrap and polystyrene are used to insulate it to prevent the release of heat out of the house thus keeping it warm. Other insulations include carpet or wood or you can add carpet over the wood to keep the floor warm.
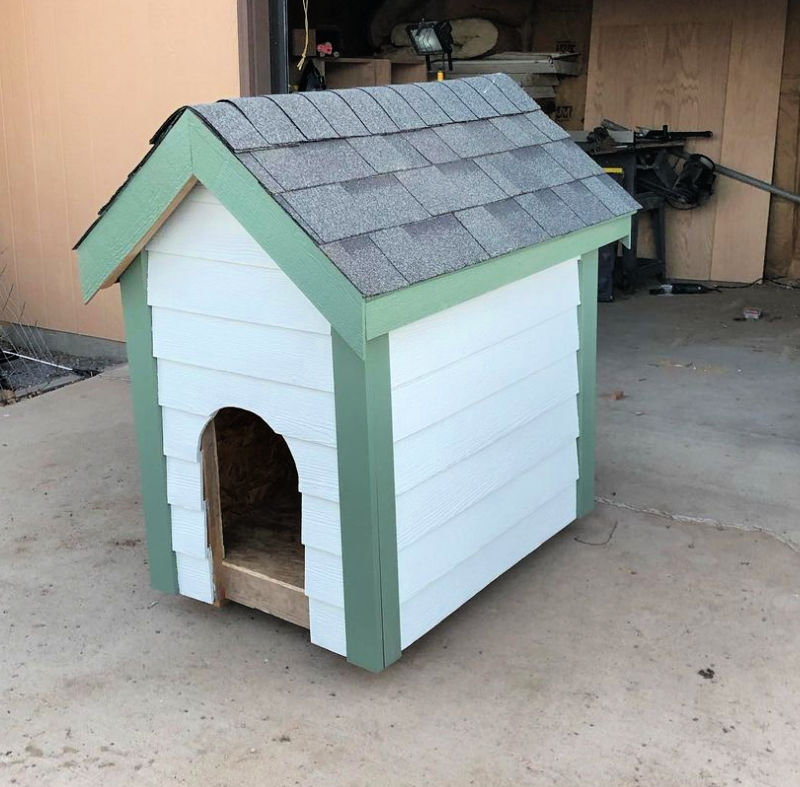
How to build a large dog house?
The procedure explained above is a guide to building a dog house for the dog of an average house. But you can either make it small or large depending upon the size of your pet. For building a large dog house, we need to build the frame wood greater than 2-by-2 size, and slides should also be large. The remaining process is the same, so you just have to adjust the measurements.
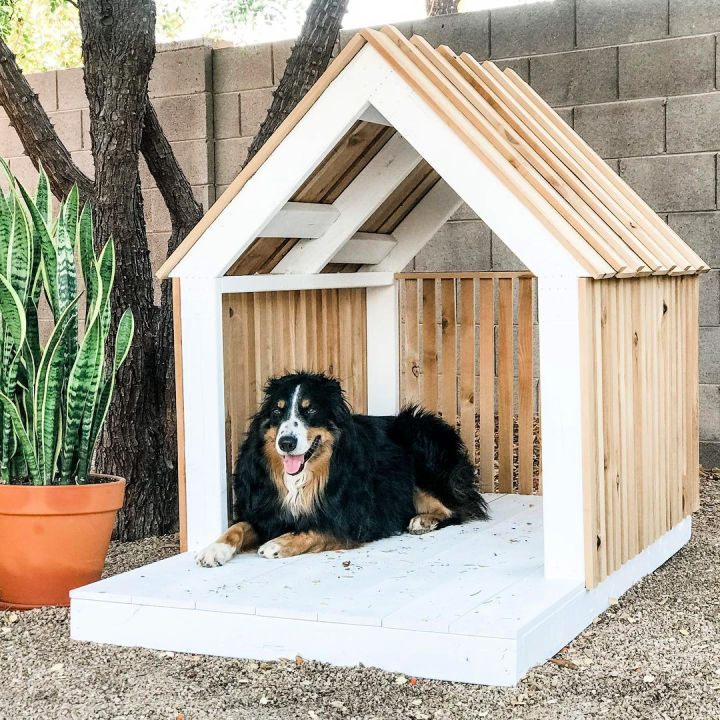
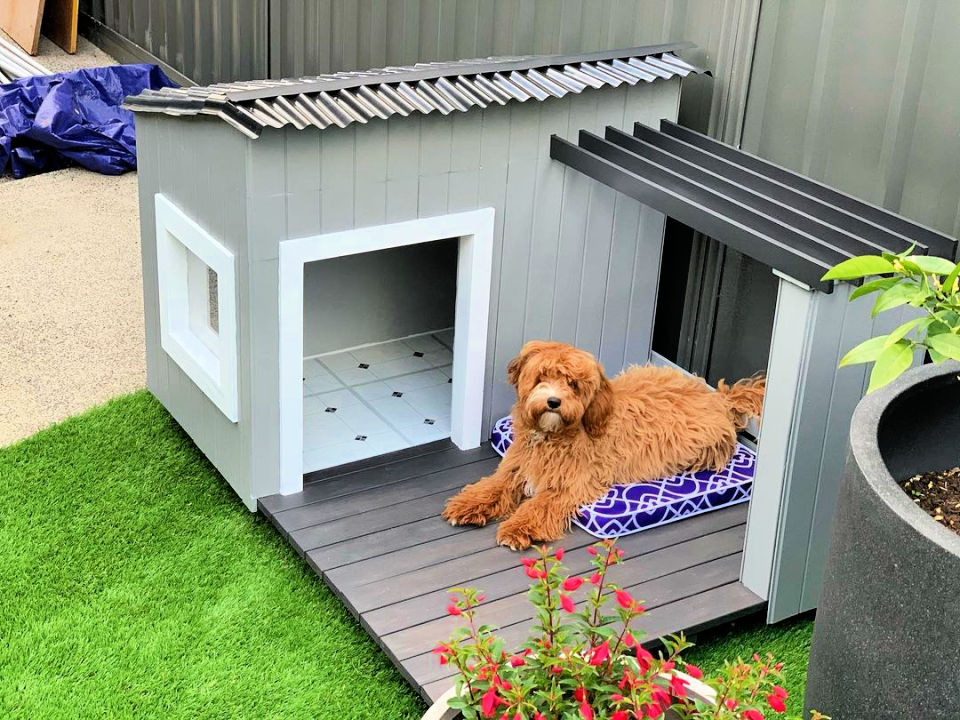
How to build a dog house with a porch?
A porch is a covered shelter projecting in the front of the entrance of a building. The remaining procedure is the same as described above, you just have to add the portion of the porch. For this cut down the wood ply pieces 2-y-2 size to create a square frame and fix it in the front of the entrance by using the screws. Now add the wood slide a slight larger over this frame to create the platform. Now to support the roof of the porch cut down the wood ply piece of the same size and attach them to the floor slide through the screws. Attach the floor slide to the frame legs and fix it, your porch is ready.
How to build a dog run on the side of the house?
For building the dog run, first, you have to select a suitable fence to mark the boundary. You can select wood, plastic, or even metal fence. After fixing the fence, you have to select the material of the ground, either grass or just the mud for the digging dogs. You can either keep the run without the roof, or you can add the roof if you want.
How to build a dog house out of pallets?
Pallet boards have a pleasant aged appearance and are either available in the wood or plastic material. You can select what you want. As the pallets already arrive in the form of slides which are made by joining the individual pieces of wood together. You just have to cut the slides according to the measurements and you know the rest. The pallets would be a cheap source of wood, and it won’t cost too much for building a pallet dog house.
So now you know that building a dog house is not a big deal at all, grab your tools now, and build up a pretty house for your puppy.